Lockdown restrictions across different states and districts of India are gradually getting lifted. Travel has started resuming across borders, but questions like who can travel, what documents they need, etc. are giving way to loads of confusions. Of late, I had an urgency to travel out of Mumbai for which I had to visit the mhpolice portal to apply for an e-pass. After visiting the portal, the first question that popped up was “Do you need to visit outside of Maharashtra?” I chose “Yes”. Then I was asked to select the number of co-passengers. I had to give details like name, phone number, travel type, reason for travel, address, vehicle type, starting and destination points, etc. After a few days of my submission, I received the e-pass on my phone in the form of a QR code. Read on to know the details about how you can apply for an e-pass to drive out of Mumbai.
Applying For An E-Pass To Drive Outside Mumbai
For travelling within the Mumbai Metropolitan Region (MMR), which includes Mumbai, Navi Mumbai, Thane and Palghar, you don’t need an e-pass. But if you’re planning to travel to Pune or Thane from Mumbai, you will need one. Here’s how to get started:
1. Visit the e-pass application portal of mhpolice.
2. Under the question, “Do you need to visit outside of Maharashtra?”, choose Yes.
3. Select the number of co-passengers.
4. Provide basic details like name, phone number, police commissionerate, travel type, reason for travel, address, vehicle type, starting and destination points, etc.
5. If you’re living in a containment zone, you need to notify that in the form.
6. You’ll also need to confirm whether you are returning via the same route.
7. After filling all the details, come down to the attachment section.

8. You can either enable the webcam or upload your photo from your system.
9. Upload relevant documents like death certificate, Aadhaar card, medical summary, etc.
10. Attach doctor certificate/fitness certificate of not having Covid-19 symptoms.
11. Click on ‘Submit’ button. Your application is complete.
12. The police will verify the details. If they are approved, you will receive your e-pass in the form of a QR code on your phone within a few days or weeks.
13. Make sure to keep a soft or hard copy of your e-pass while travelling.
Also Read: 5 Best Spots We Miss Enjoying Mumbai Monsoon
Alternatives To E-Passes
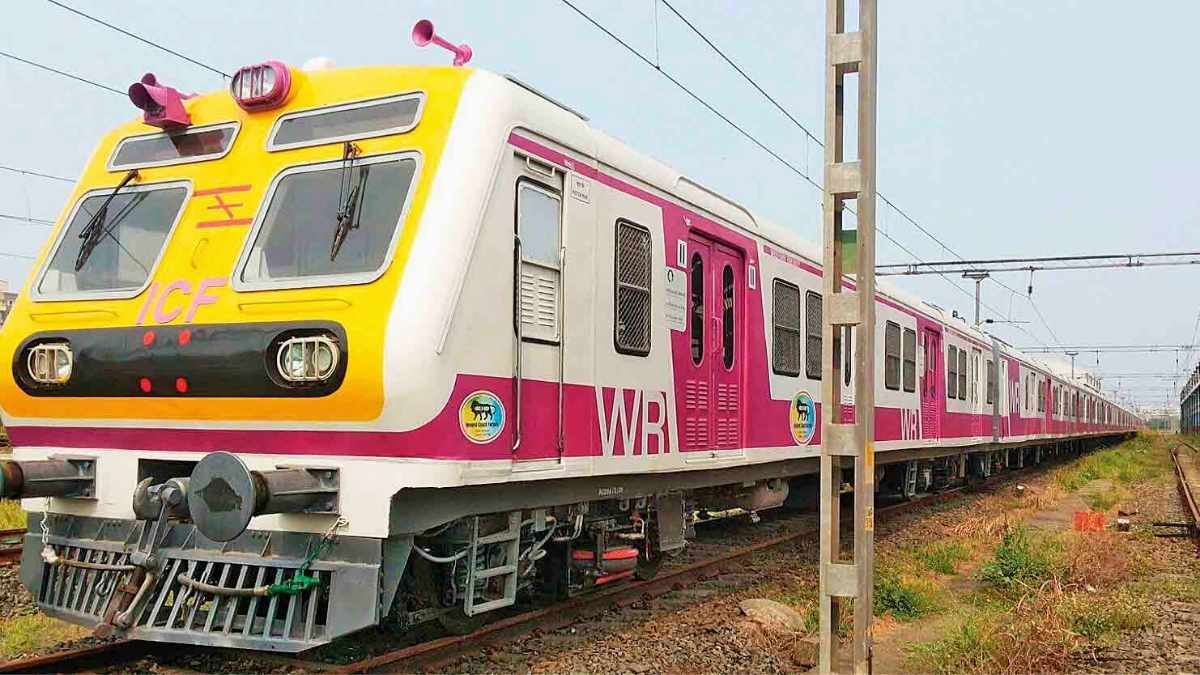
People engaged in essential services do not need e-passes. They can produce their IDs and documents instead. Boarding passes can work as e-passes for travel to and from the airport. Travelling by train is now permitted only for government employees and essential service workers.

Also Read: Mumbai To Get India’s Longest Sea Ropeway; Sewri To Elephanta Caves In Flat 14 Minutes
Before I started applying, the entire process seemed very complicated. But in actuality, the procedure is quite well-planned. Also, if you’re travelling, don’t forget to wear a mask, carry a hand sanitizer and follow the social distancing norms. On that note, here’s an amazing virtual tour of Mumbai from the comfort of your home:
First Published: July 29, 2020 12:38 PM


